
Last updated November 14, 2026
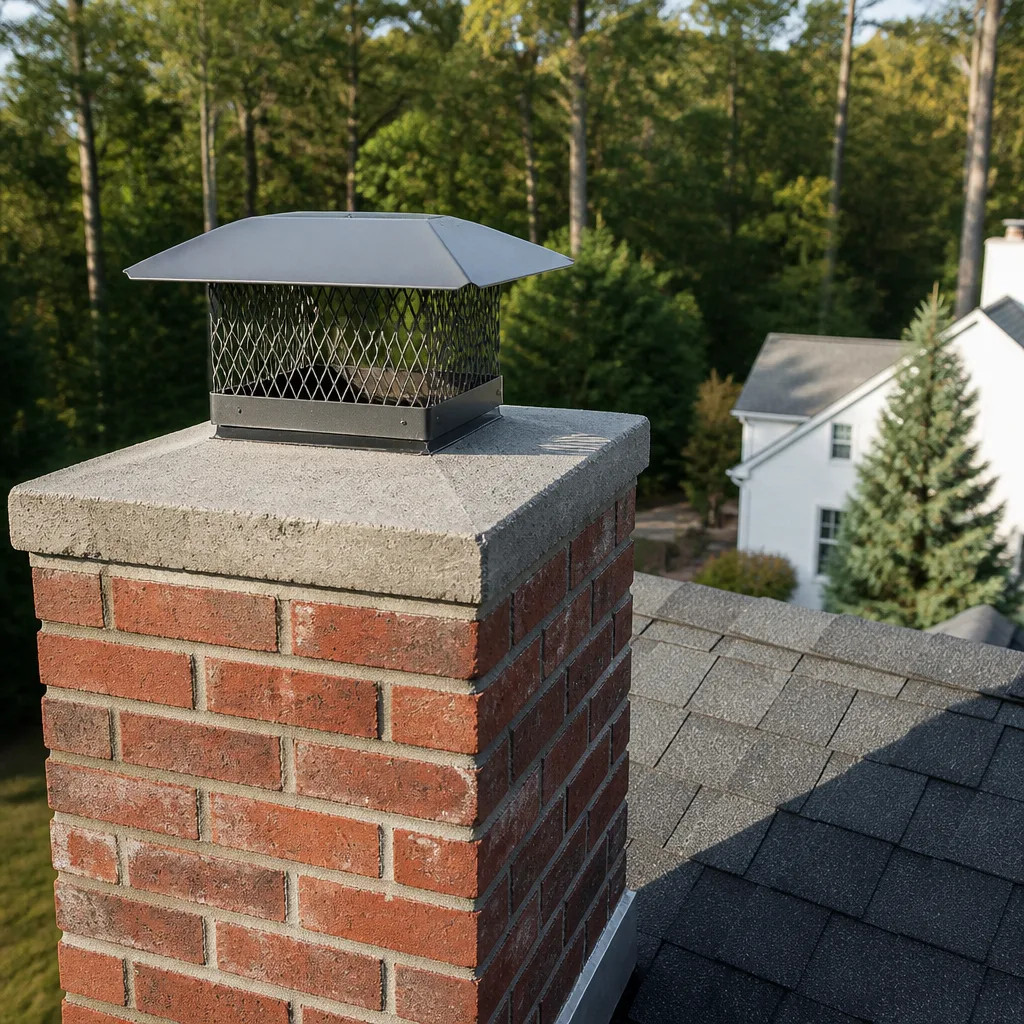 Sweep & inspection
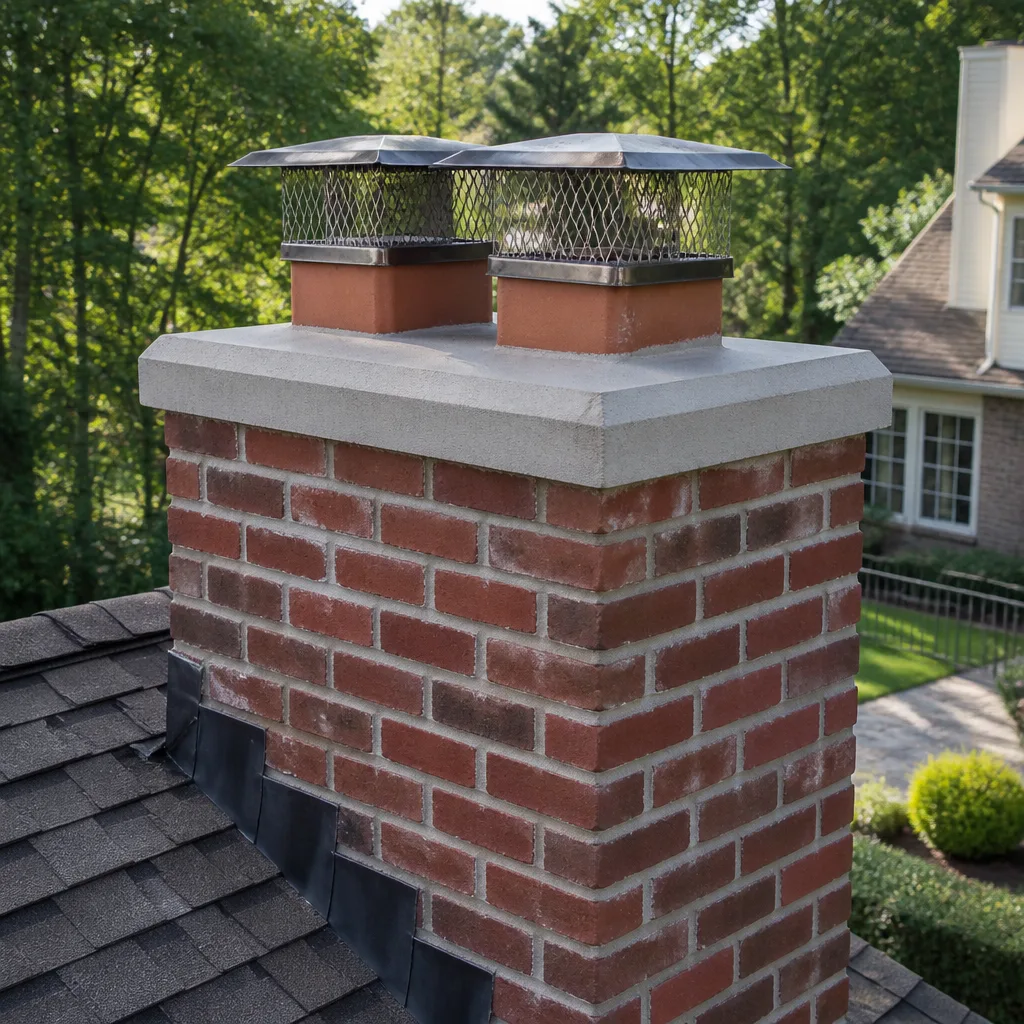 Caps & crowns
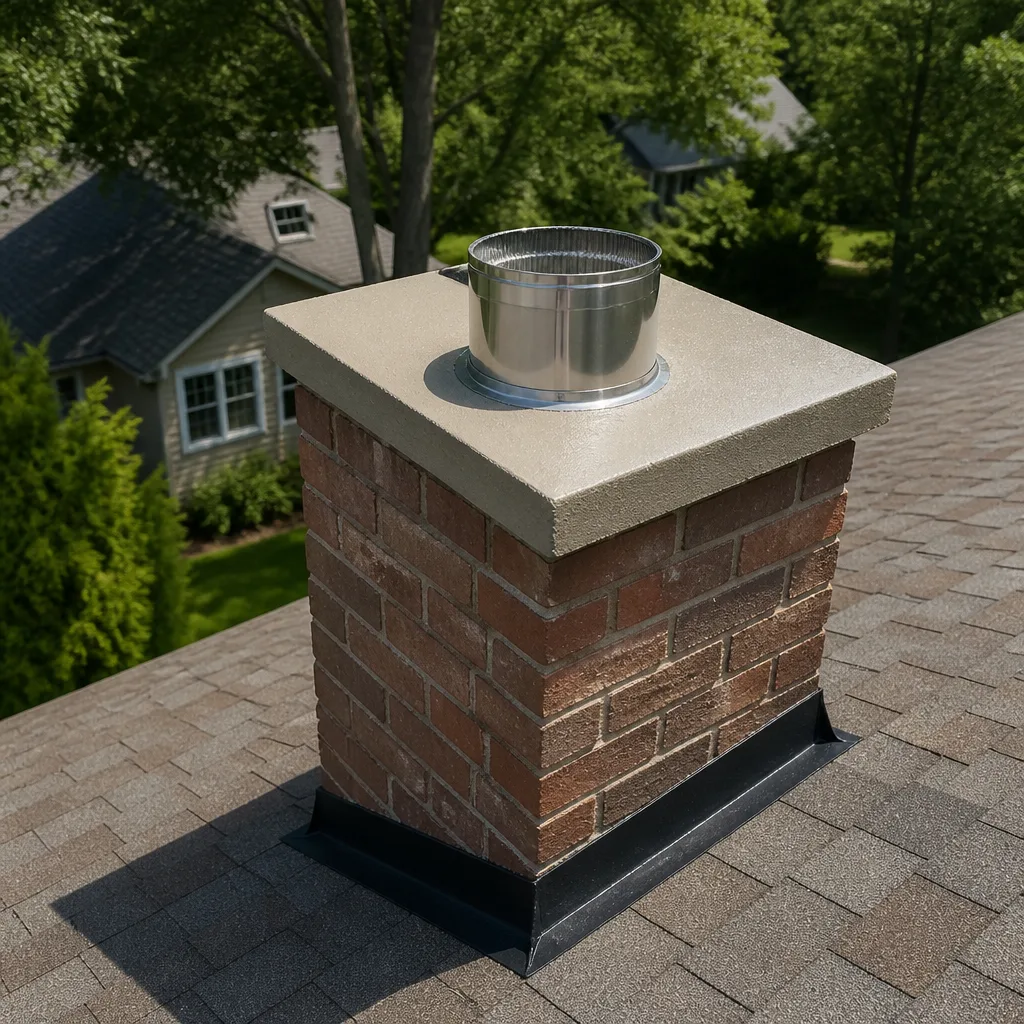 Flue relining
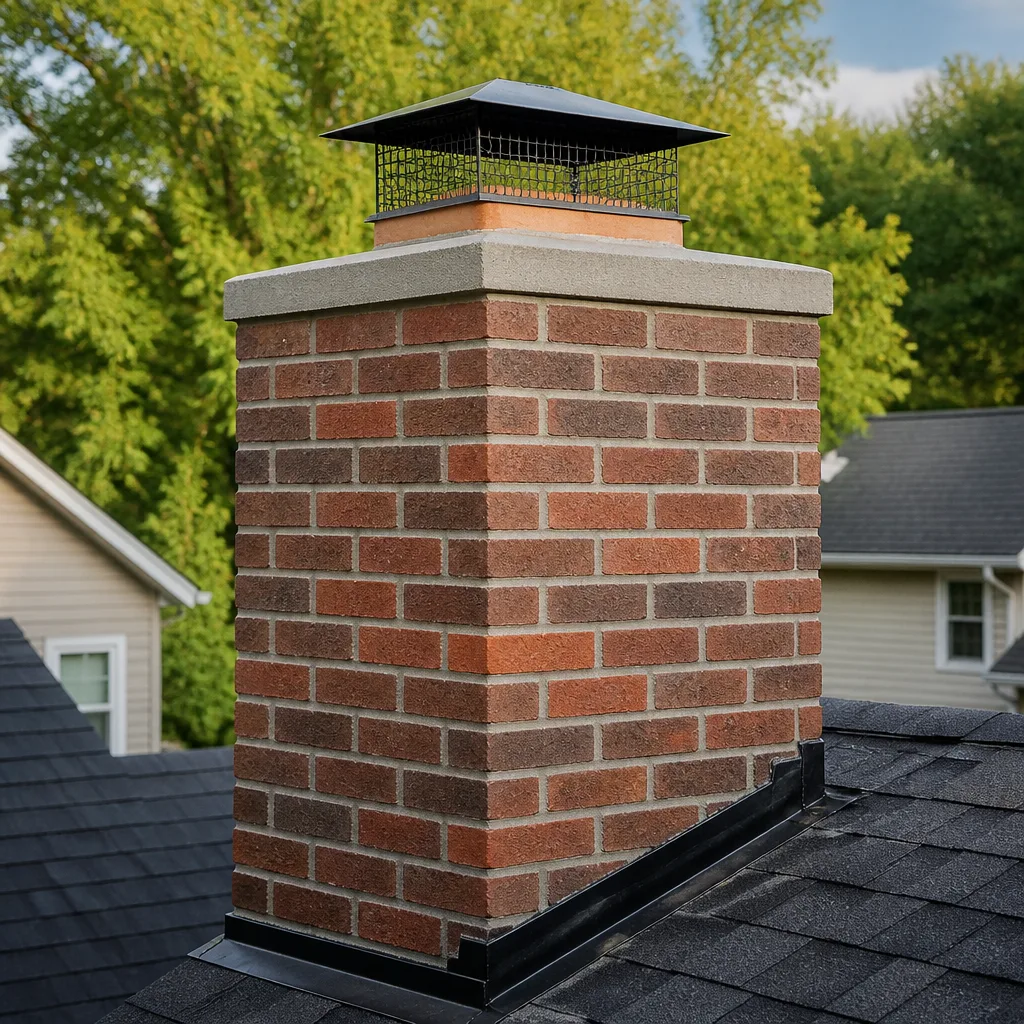 Masonry repair
 Gas fireplace service
Level 1 sweep and inspection to the NFPA 211 annual standard - flue, crown, cap, and flashing checked and photographed
Chimney sweep logs do not sweep chimneys. They loosen some creosote - which then falls where a brush and vacuum still have to collect it.
Chimney Sweep Maintenance Checklist for Portland Homeowners
The item most often skipped on a chimney checklist isn’t inside the flue at all. It’s the dryer vent. The U.S. Fire Administration links dryer venting to roughly 2,900 house fires a year, and most of those trace back to lint that builds up where a homeowner never looks. A chimney checklist that stops at the firebox misses half the venting system in the house. This guide separates what you can check yourself from what needs a technician’s camera and tools, with specific attention to how Portland’s wet winters and freeze-thaw cycles affect brick, mortar, and crowns.
Quick Answer
A solid chimney maintenance checklist for a Portland home covers three layers: what you can see and test yourself (cap, damper, exterior masonry, efflorescence, moss), what requires a technician (liner integrity, smoke chamber, flue camera inspection), and a parallel schedule for dryer vent cleaning. Fold in two annual walkaround checks and one professional sweep per year, and you catch most failure points before they become structural. If you heat with wood regularly, consider a mid-season inspection as well.
Styles & brands we work with
- Sweep & inspection
- Caps & crowns
- Flue relining
- Masonry repair
- Gas fireplace service
Table of Contents
- The Two Layers of a Chimney Checklist: What You Can See vs. What Needs a Camera
- Owner-Observable Checkpoints: What to Look At Each Season
- Technician-Required Diagnostics: The Parts You Can’t Safely Assess
- Portland Climate Indicators: What Wet Winters Do to Portland Chimneys
- Dryer Vent Checklist Items That Belong on the Same Schedule
- Building a Photo Log Between Professional Sweeps
- Preparing for a Sweep So the Visit Focuses on Diagnosis
- A Year-at-a-Glance Maintenance Timeline
The Two Layers of a Chimney Checklist: What You Can See vs. What Needs a Camera
The biggest source of avoidable chimney damage we run into is homeowners treating every checklist item as a do-it-yourself task. Some are. Many aren’t. Splitting the list into two layers keeps you safe and keeps your maintenance budget pointed at the right work.
Layer one – owner-observable checkpoints. These are items you can inspect with your eyes, a flashlight, and a mirror on a stick. No climbing, no tools inside the flue. Examples: the condition of the chimney cap, the exterior masonry above the roofline, whether the damper opens and closes smoothly, and whether you see white staining or moss growth on the outside. You can also note how your fires behave – whether smoke rolls back into the room, whether the draft feels weak on cold mornings, whether creosote smell lingers after a fire.
Layer two – technician-required diagnostics. These need training, tools, and in most cases a camera. The liner’s integrity, the smoke chamber’s condition, the presence of hidden cracks behind a parged surface, and the joint integrity between flue tiles all sit in this layer. A homeowner cannot safely assess a liner from the firebox. A technician runs a camera down the flue, checks for gaps, offsets, and deteriorated mortar joints, and can tell you precisely what condition the flue is in.
If you’re in Portland and you’ve just moved into an older home, the first call should be a full technician inspection, not a visual self-check. Older masonry chimneys in this city often have decades of accumulated wear, and a homeowner’s eye won’t catch a cracked liner or a chimney crown that’s already absorbed water.
We’ve found that the most useful framing is this: your job is observation and documentation; our job is diagnosis and repair. Keeping those roles separate means nothing important gets missed, and nothing unnecessary gets sold.
Owner-Observable Checkpoints: What to Look At Each Season
These eight checkpoints take about fifteen minutes with a flashlight and a pair of binoculars. Do them twice a year, once in early fall before your first fire, and once in early spring after your last.
- Chimney cap. Look up at the roof. Is the cap present, intact, and free of rust or holes? A missing cap lets rain, birds, and debris straight into the flue, and it’s one of the most common sources of water intrusion. If the cap is gone or mangled, that’s a technician call, not a ladder project.
- Damper operation. Open and close the damper a few times. It should move smoothly and seal reasonably well. A damper that sticks open wastes heat and lets cold air into the house in winter; one that won’t open defeats the chimney’s purpose.
- Firebox interior. With a flashlight, look at the firebrick. Small hairline cracks in the firebrick joints are normal; deep cracks, missing mortar, or gaps between bricks are not. Note them and flag them for the technician.
- Smoke chamber view. Angle the flashlight up past the damper. You should see masonry, not a glossy black glaze. A heavy glaze indicates significant creosote accumulation and is a technician call before the next fire.
- Creosote signs at the flue throat. Look for flaky, crusty deposits, especially if you heat with wood regularly. Any flaky or glazed deposit means it’s time to schedule a chimney sweep.
- Draft behavior. Does smoke roll back when you first light a fire? Does the fire struggle to draw on cold, damp mornings? These are draft indicators that point to flue or cap issues.
- Exterior masonry – from ground level. Binoculars are fine. Look for efflorescence, spalling brick faces, cracked mortar joints, or moss and lichen. Write down what you see.
- Roof flashing and the chimney crown. From a safe vantage point, check whether the flashing looks intact and the crown is smooth and sloped. Cracks or missing chunks in the crown are a technician call.
Don’t climb onto the roof for these. A fall from a Portland roofline in wet weather is far more dangerous than the chimney problems you’re trying to spot. Binoculars and a phone camera zoom cover everything you need.
Technician-Required Diagnostics: The Parts You Can’t Safely Assess
These are the items where the checklist requires someone with tools, cameras, and the training to interpret what they see. Skipping them isn’t a cost saver; it’s the difference between maintaining a chimney and discovering its condition only after something fails.
- Liner integrity. A flue camera run reveals cracks, gaps between tiles, and mortar joint deterioration that no flashlight from the firebox can show. Cracked liners let combustion gases escape into the wall cavity and framing – this is a carbon monoxide risk, not just a performance issue.
- Smoke chamber condition. The smoke chamber is the sloped area above the damper. Its surface can pit, crack, and corbel unevenly over time. A technician can assess whether the chamber needs repair and, if so, whether a resurfacing product like HeatShield is appropriate before a full reconstruction is considered.
- Flue tile joint integrity. The individual tiles that compose a masonry flue are joined with refractory mortar. Those joints degrade. Only a camera reveals how well they’re holding.
- Creosote type and volume. A technician can distinguish between stage-one soot, stage-two flaky crust, and stage-three glazed creosote, which matters because those stages require different cleaning approaches and different urgency levels.
- Crown and flashing detail. Up close, the technician can see whether the crown has lost its slope, whether the flashing is sealed, and whether the chimney top needs re-crowning – all items that can’t be reliably assessed from the ground.
- Obstructions and animal nests. Birds, squirrels, and raccoons regularly get into Portland flues through missing caps. A technician checks for obstruction before sweeping.
- Draft testing under controlled conditions. With the fire out and controlled conditions, a technician can test draft in ways you can’t reproduce safely yourself.
When a chimney sweep technician inspects, you should get a report – either verbal with photos or a written summary. If something fails, you want to know exactly what it is, what caused it, and what repair is needed. Where repair is required, professional-trade materials matter: a reline with DuraFlex or a resurface with HeatShield is a very different job from a hardware-store patch. We use those same professional-grade materials chimney engineers specify, which is one reason we can quote a real repair after the inspection rather than referring you out.
Portland Climate Indicators: What Wet Winters Do to Portland Chimneys
Portland’s wet, mild winters put a specific kind of wear on masonry chimneys that dry-climate checklists don’t account for. If you moved here from somewhere sunnier, the failure patterns will look unfamiliar. These are what to watch for.
Efflorescence on brick after rain
White, powdery staining on exterior brick is efflorescence – water-soluble salts pushed to the surface as moisture migrates through the masonry and evaporates. A little is normal after a heavy soak. Persistent or growing efflorescence means water is getting in somewhere: a failed crown, cracked mortar, or compromised flashing. Portland homeowners should note whether it appears only after rain (usually a drainage issue) or is present year-round (usually a masonry waterproofing issue).
Freeze-thaw cracking on mortar joints
Portland winters hover around freezing, which is arguably harder on mortar than consistently cold climates. Water gets into a hairline mortar joint, freezes overnight, expands, then thaws. Repeat that cycle through a winter and a hairline crack becomes a real gap. Check the mortar joints on the exterior chimney twice a year and note any joint that’s visibly wider than it was last season.
Moss and lichen growth on chimney crowns
Portland’s damp air and shaded rooflines support moss and lichen growth on chimney crowns and exterior masonry. The green isn’t the problem – the moisture retention under it is. Moss holds water against the crown, which accelerates spalling and freeze-thaw damage. If you see a green tint on the crown from ground level, flag it for the technician. Under the moss, there may already be cracking.
Spalling brick faces
When a brick absorbs water, freezes, and sheds its outer face, that’s spalling. In Portland, spalling often shows up first on the chimney’s north and east faces – the sides that stay damp longest. Note any brick where the face is popping off or you can see the crumbly interior.
Damp smoke smell after rain
If your fireplace smells smoky or musty after a rainstorm, that’s a sign water is entering the flue, usually through a missing or failed cap. It’s also a sign the flue hasn’t been swept in a while, since creosote holds moisture and odors.
None of these observations require you to be a mason. Every one of them is a note to bring to the technician’s attention. The notes become the starting point for diagnosis, and they help focus a Belmont Chimney Cleaning inspection on the parts of the system most likely to need attention.
Dryer Vent Checklist Items That Belong on the Same Schedule
Dryer vents and chimneys share the same risk profile: lint and creosote are both fire fuels, both accumulate slowly out of sight, and both cause fires that homeowners don’t see coming. Yet most people clean one and forget the other. Putting dryer vent cleaning on the same maintenance schedule as your chimney sweep is one of the more useful habits a homeowner can build.
The U.S. Fire Administration attribute roughly 2,900 house fires a year to dryer venting. Most start from lint buildup – the same way most chimney fires start from creosote buildup. The parallel is direct: a flue is a path from a heat source to the outdoors, and a dryer vent is the same thing. Both accumulate their own fuel, and both need regular clearing.
Here are the dryer vent checkpoints that belong on your yearly list:
- Lint screen cleaning after every load. This is basic, but it’s where most vent fires begin. If it’s already a habit, keep it that way.
- Behind-the-dryer lint check. Once a season, pull the dryer out (or look behind it) and check for lint accumulation on the floor and at the wall connection. Lint builds up faster than most people expect.
- Vent connector inspection. Look at the semi-rigid or rigid metal duct between the dryer and the wall. A kinked, crushed, or loosely connected duct means lint buildup and reduced airflow. Foil or plastic accordion ducting is a fire risk; rigid metal is the safer standard.
- Outdoor vent hood check. From outside the house, verify the vent flap opens and closes freely and that there’s no packed lint visible. A stuck flap is common and cuts airflow dramatically.
- Dryer performance change. If a load that used to dry in one cycle now takes two, that’s a sign of lint buildup somewhere in the run. It’s the most reliable early indicator a homeowner has.
- Professional cleaning interval. The U.S. Fire Administration recommends professional cleaning once a year for most households. If you have a large household, do heavy laundry loads, or have a long vent run, more frequent cleaning may be warranted.
Every one of these items pairs with a chimney checklist item in your yearly maintenance notebook. When you book a chimney inspection, book your dryer vent cleaning at the same time. One visit handles both venting systems and eliminates the “I’ll get to it later” that delays dryer vent maintenance by months or years in most homes.
Building a Photo Log Between Professional Sweeps
The single most useful thing a homeowner can do between professional chimney sweeps is keep a photo log. Chimney deterioration happens slowly, and memory is a poor recorder. A few dozen phone photos taken twice a year will catch changes that a single look can’t.
Here’s the approach we recommend to Portland homeowners:
- Four fixed positions. Every six months, take photos from the same four positions: south side, north side, east side, west side, all from ground level. Same time of day if possible – morning light catches efflorescence well.
- Detail shots. Zoom in on any area that showed a defect last time: a hairline mortar crack, a bit of spalling, a moss patch. Same angle each time.
- Chimney crown from below with zoom. A single photo of the crown each season. Compare the shape – has a crack appeared? Has the mortar bedding at the top edge deteriorated further?
- Firebox interior. Flash photo of the firebox and the firebrick joints. Compare wall-to-wall. Deep cracks will show up as new dark lines.
- Smoke chamber view up. Flash photo looking up past the damper. Creosote buildup shows up as a change in the surface texture.
- Dated folder. Keep the photos in a dated folder on your phone or in cloud storage. Name folders “Chimney 2026 spring” etc. – a year from now, the comparison tells you whether the crack has grown.
- Notes with each set. Anything you saw or smelled that was different – a damp smell after rain, a draft change, a smoke backup on a cold morning. Write two sentences; that’s all it needs.
The photo log does two things. It gives a technician a head start on what to look for, and it gives you a documented history of the chimney’s condition. If you’re considering a large repair, you want that history. It’s much easier to make an informed decision when you can see the crack was half a millimeter three years ago and it’s now a full millimeter.
The photos also become the basis for your inspection report. When we inspect a chimney, we bring the camera and confirm what the photo log suggested. Where repair is needed, the evidence supports the recommendation. We don’t recommend work without showing you why.
Preparing for a Sweep So the Visit Focuses on Diagnosis
A chimney sweep appointment goes best when the homeowner has already done the observation layer. The technician’s time is best spent on diagnostics – camera inspection, appliance assessment, and any repair work – not on discovery. Here’s how to prepare so that happens.
- Clear the firebox 24 hours before. Remove ashes and unburned wood. The technician can’t inspect what they can’t see.
- Have your photo log ready. Pull up the last four seasons of chimney photos. Point out anything that’s changed. This tells the technician exactly where to focus the camera.
- Note your burning habits. How often do you burn? Seasoned or unseasoned wood? Any recent changes in draft or smoke behavior? The technician uses that context to interpret creosote type and volume.
- Clear the room around the fireplace. Sweeping creates dust even with drop cloths. Move delicate items and furniture a few feet back. Cover the TV if it’s close.
- Note all appliance connections. If your furnace or water heater vents into the same chimney, tell the technician. Multiple appliances venting to one chimney changes how the inspection is done and what risks to assess.
- Have questions ready. Write them down. “Is my liner in good shape?” is a different question from “How should I be maintaining this chimney going forward?” Both are worth asking.
- Ask what’s covered. Confirm before the visit whether the sweep includes a camera inspection and a report, or if that’s a separate line item. A sweep without an inspection tells you less than you may assume.
When we arrive for a sweep, we look at the current condition first and confirm what the log suggested. If we find a deteriorated flue tile joint or a cracked crown, we can quote a fix on the spot – the professional-grade materials we work with, including DuraFlex and HeatShield, are on hand for the diagnostic approach, not generic hardware-store substitutes. If the work needs to be scheduled, we can quote the repair accurately from the inspection evidence rather than from a guess.
Heads up: if the technician finds a problem that requires a part or a product we don’t have on hand, that becomes a follow-up visit. Booking the sweep and dryer vent cleaning together, with a full inspection, reduces the odds you’ll need a second trip for anything routine.
A Year-at-a-Glance Maintenance Timeline
Here’s how the checklist items land across a calendar year. Portland homeowners can adjust based on heating habits and how much the house is occupied.
- Early fall (before first fire). Full owner-observable walkaround. Take the four-position photo log. Book your professional sweep and camera inspection. Book dryer vent cleaning. Clear the firebox and prep the room the night before.
- After the sweep. Review the inspection report. Note any items flagged for a follow-up – liner, smoke chamber, crown, flashing. If a repair was recommended, get a written quote. Keep the inspection report with your photo log.
- Mid-winter. Check firebox and smoke chamber visually mid-season if you heat with wood regularly. Watch for a change in draft or smoke behavior. Pull the dryer out and check for lint accumulation behind it.
- Early spring (after last fire). Second owner-observable walkaround. Compare photos to the fall set. Note new efflorescence, cracking, spalling, or moss. Look for any damage from winter weather. If it’s a heavy year for moss, flag it.
- Late spring. If repairs were recommended in the fall and deferrable, this is the season to schedule them. Dry, mild weather is the best window for masonry work and chimney crown repair.
- Summer. Low-humidity weeks are ideal for major repairs like re-crowning or relining. Ideal for big work, but don’t stack scheduling pressure on the peak season.
The rhythm is: check and sweep in the fall, check and repair in the spring, and let the photo log connect the two. When you book with us, we can pull both the sweep and the dryer vent into a single appointment and confirm the checklist items in a report – so you’re not trying to remember what the inspection found when the seasons change.
Common Mistakes to Avoid
- Skipping the dryer vent because “the chimney person doesn’t do that.” Many sweep-only companies don’t. Ours does – dryer vent cleaning is a core service on the same schedule as the chimney. A chimney-only checklist misses roughly half the venting fire risk in the house.
- Climbing onto the roof to inspect the crown. Portland’s wet, mossy rooflines are a fall hazard. A camera with zoom from ground level gets you the detail you need without the risk.
- Treating efflorescence as “just cosmetic.” White staining on the brick is often the first visible sign of a water-entry problem. Ignore it and the underlying masonry damage will get worse through repeated freeze-thaw cycles.
- Cleaning moss off the crown without repairing the underlying crack. The moss is a symptom. If you remove it, the crack underneath keeps absorbing water. Repair the crown first.
- Every-other-year sweeps in a wood-heat home. A homeowner who heats fully with wood accumulates creosote faster than an occasional-fire household. One sweep a year is the baseline; a heavy-use home may need more.
- No photo record. Without comparison photos, “the crack looks a little worse” is impossible to verify. Tiny masonry changes over long periods are invisible to memory.
- Treating a sweep as a complete inspection. Sweeping clears the flue; it doesn’t assess the liner, smoke chamber, or chimney crown unless the technician specifically checks those parts. Confirm what’s included when you book.
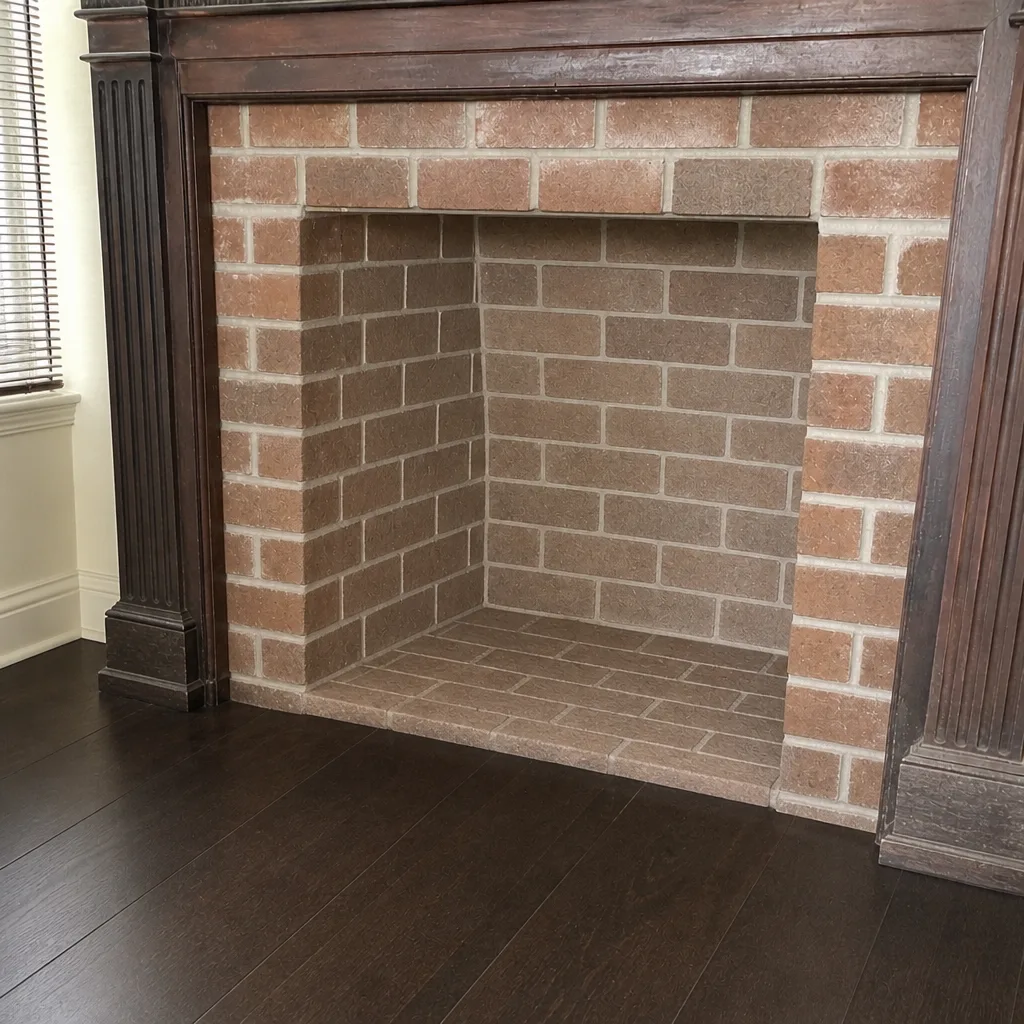
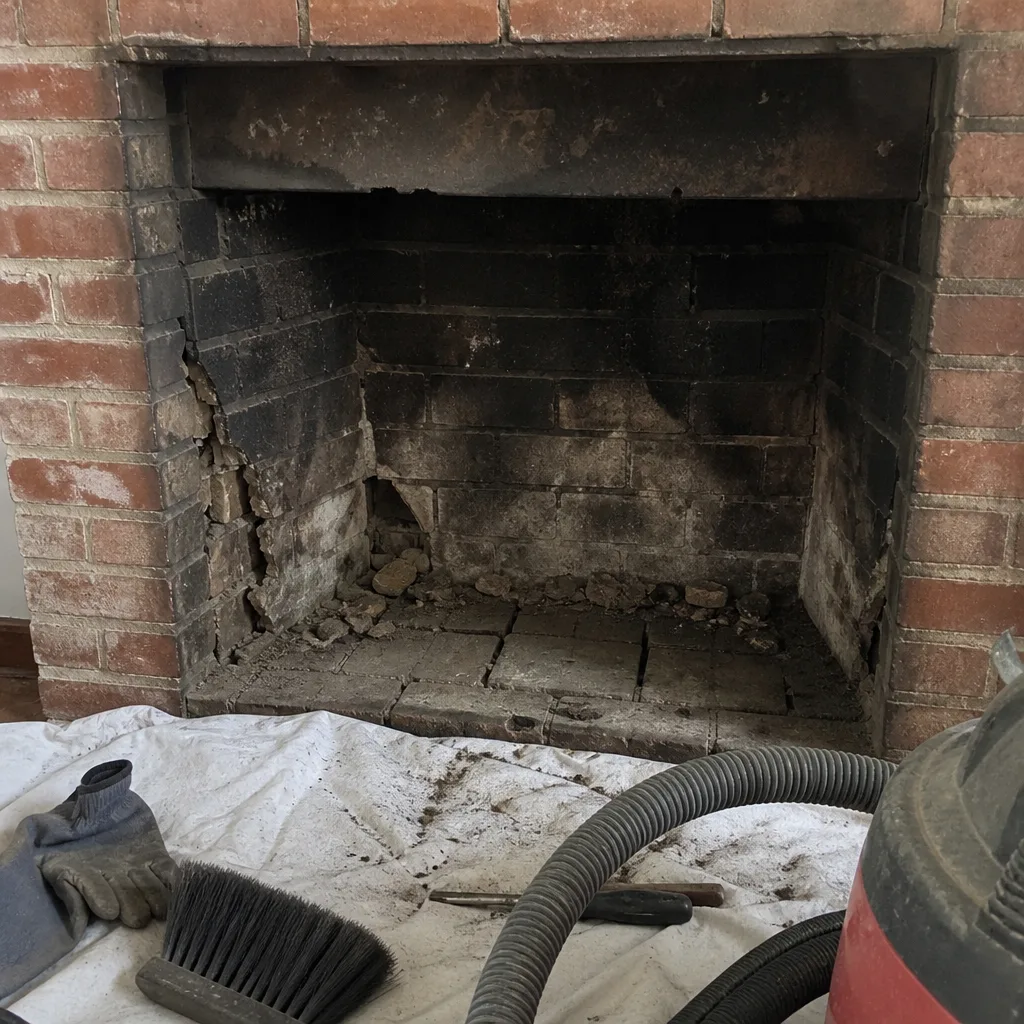
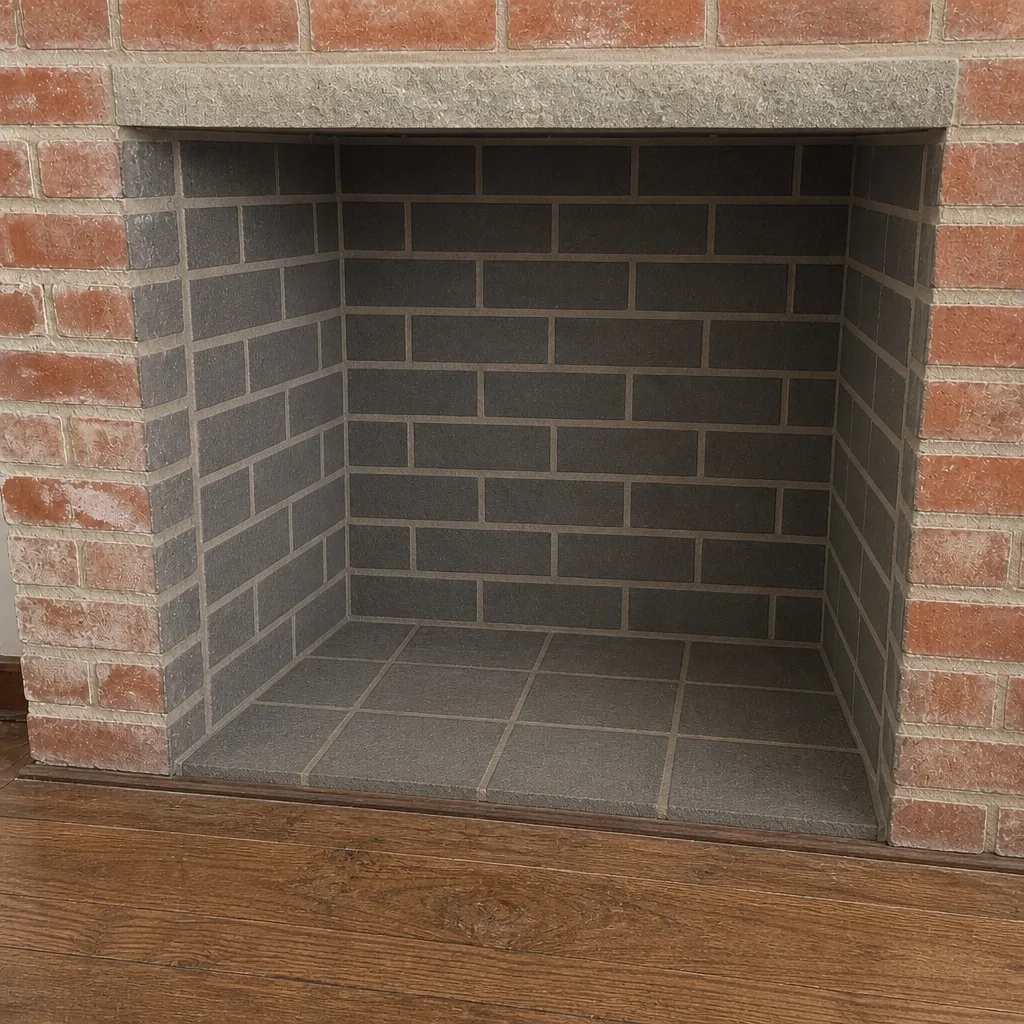
See the difference
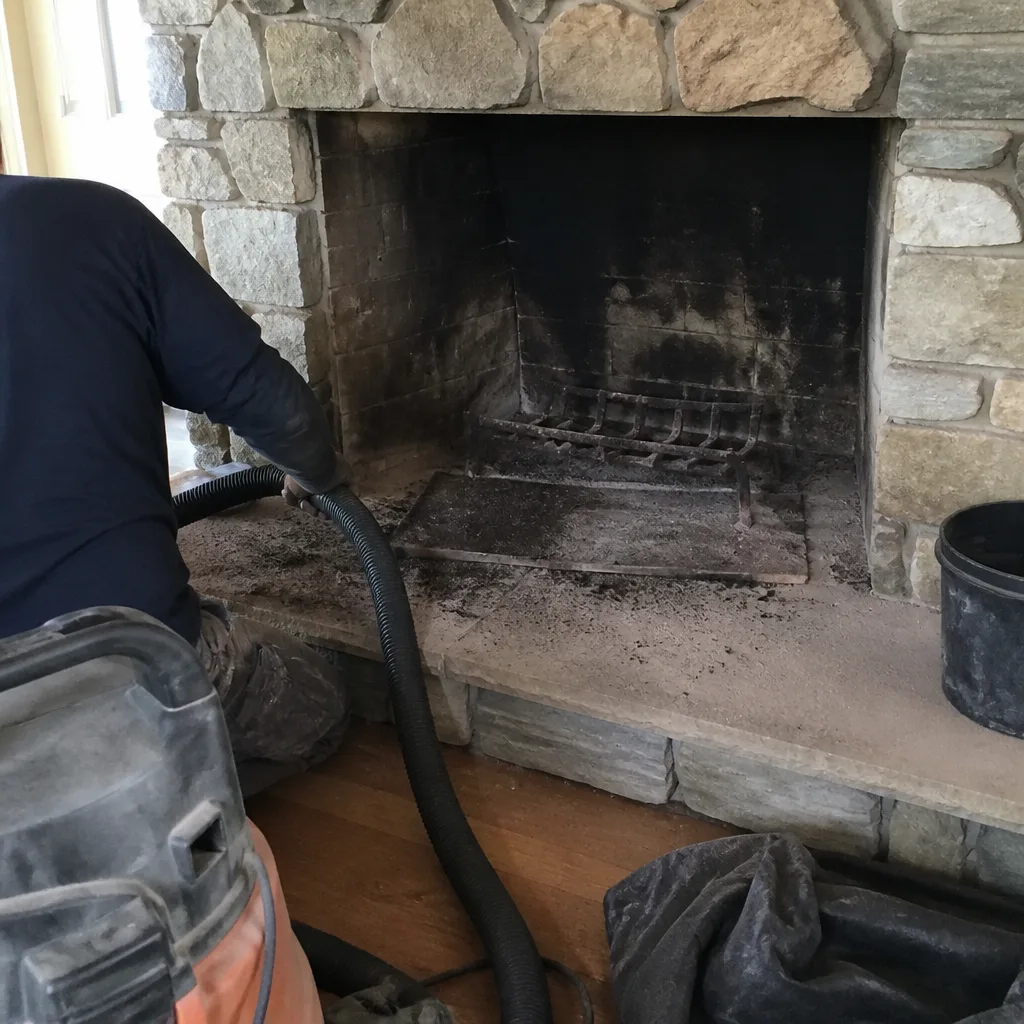 Before
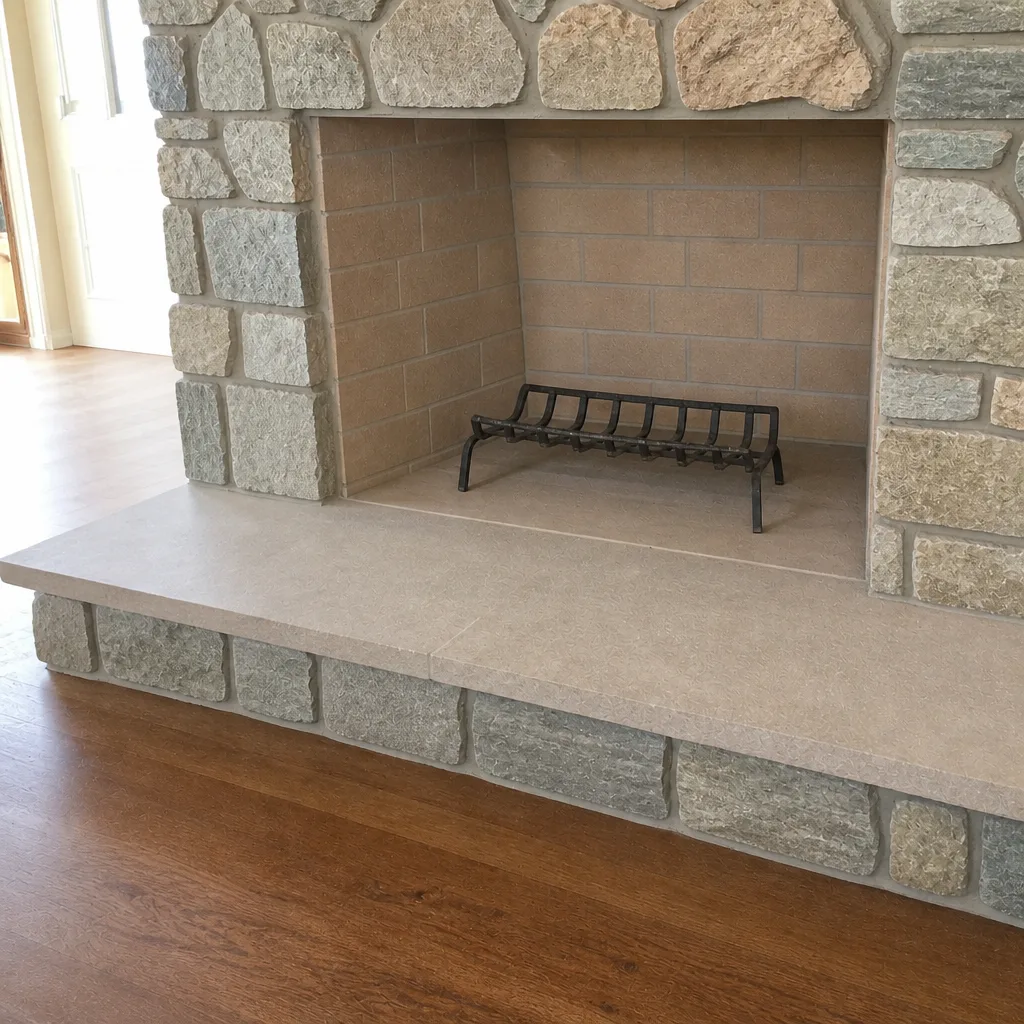 After
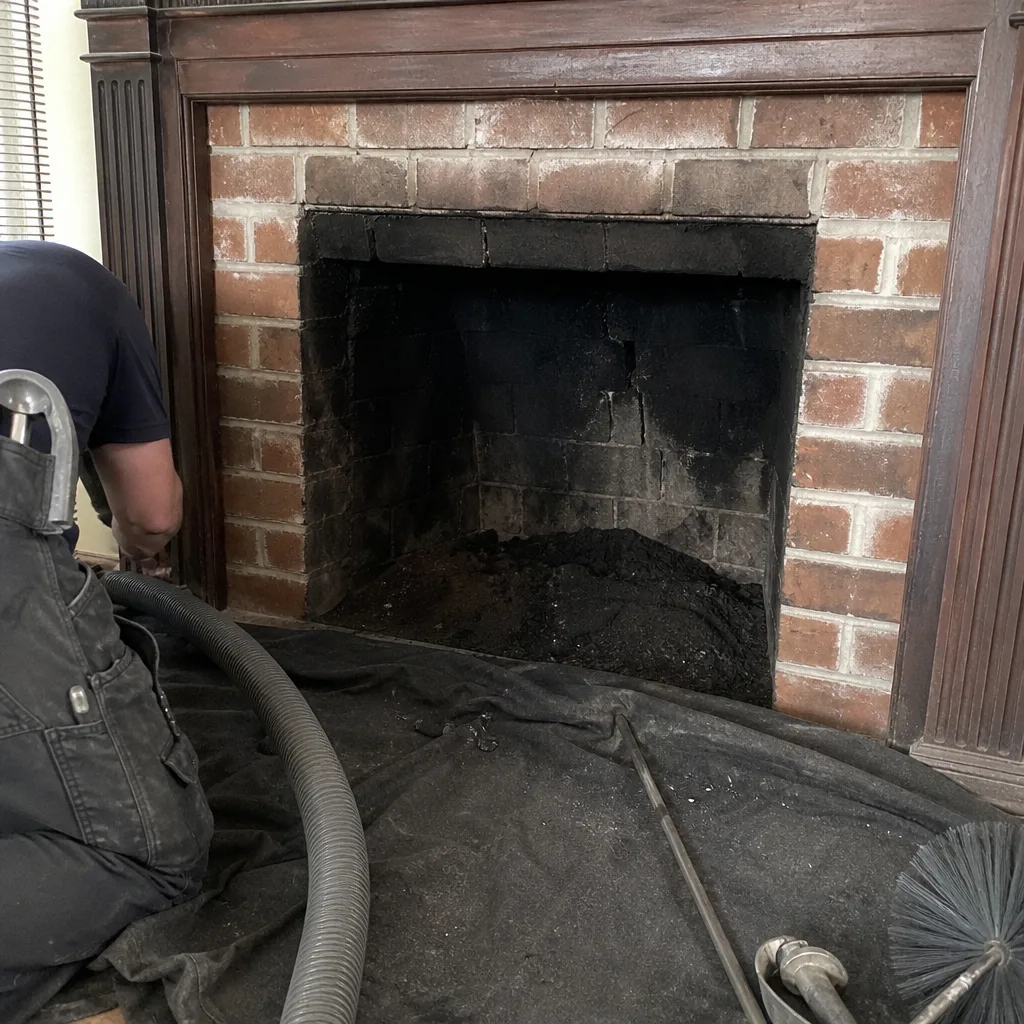 Before
 After
 Before
 After
When to Call a Professional
Call a professional if you see any of these: persistent efflorescence or moss on exterior brick, mortar joints that are visibly wider than last year, spalling brick faces, a chimney cap that’s missing or damaged, a damper that no longer operates, greasy or flaky creosote at the throat, smoke that rolls back into the room when you first light a fire, or a musty smell after rain. Also call if it’s been more than a year since your last sweep, if you’ve just moved into a home you don’t know the history of, or if your dryer takes noticeably longer to dry a load than it used to. Belmont Chimney Cleaning offers free estimates in Portland – call (866) 413-9023. We answer 24/7, with fast dispatch from 7am to 7pm, Sunday through Friday. Our technicians have up to 9 years of experience and can handle the sweep, the dryer vent cleaning, and any repair we find in one call.
Frequently Asked Questions
A yearly checklist should include: a full professional sweep with a flue camera inspection; a dryer vent cleaning on the same schedule; two owner walkarounds (early fall and early spring) covering the cap, damper, exterior masonry, efflorescence, moss, and crown; a firebox and smoke chamber visual check; and a photo log comparing season to season. Portland’s wet winters make the exterior masonry checks especially important, because freeze-thaw cycles accelerate cracking. Call (866) 413-9023 for a free estimate on the sweep and inspection.
Once a year is the standard baseline for a home with regular fireplace or wood-stove use, and more often if you heat primarily with wood. The U.S. Fire Administration and chimney professionals generally recommend annual inspection whether or not you sweep every year, because the condition changes even during seasons with no fires. Portland’s damp climate makes annual inspection a little more valuable than in dry regions, since water damage can progress quietly through the wet months. Call (866) 413-9023 to book a sweep and inspection.
A sweep clears creosote and soot, but it doesn’t assess liner integrity, smoke chamber condition, or flue tile joint gaps – those need a camera. If your last service was sweep-only, you likely don’t have a real picture of the liner’s condition. An inspection answers questions a clean flue can’t. Call (866) 413-9023 and confirm what your service includes before you book.
White powdery staining is efflorescence, which happens when water migrates through the brick and pushes mineral salts to the surface as it evaporates. A little is normal after rain; persistent or growing staining means water is getting into the masonry from a failed crown, cracked mortar, or bad flashing. Efflorescence is a symptom worth having looked at, not an emergency. Call (866) 413-9023 for an inspection to find the source.
Yes. Dryer vents and chimneys share the same fire-risk pattern: lint and creosote are both fire fuels that accumulate out of sight, and both cause fires that start without warning. The U.S. Fire Administration attributes roughly 2,900 house fires a year to dryer venting. Putting the two on the same yearly schedule means neither gets forgotten and everything gets handled in one appointment. Call (866) 413-9023 to book both together.
We don’t recommend it. Beyond the physical risk of working on a roof or inside a flue, DIY brushing leaves the parts you most need checked – the liner, smoke chamber, and crown – completely unexamined. A camera inspection catches cracked liners, glazed creosote, and other issues a brush kit misses. The safe approach is a professional sweep with inspection. Call (866) 413-9023 for a free estimate.
The Bottom Line
A Portland chimney checklist works best when it’s split into what you can observe safely and what requires a technician. Your part is the fall and spring walkaround, the photo log, and the habit of noting anything that changes. Our part is the sweep, the camera inspection, the dryer vent cleaning, and the repairs that follow when a problem turns up – handled by the same company, with the same professional-grade materials. Keep up with annual sweeps, watch for efflorescence, moss, and cracking on the exterior, keep your photo log going, and put your dryer vent on the same yearly schedule as the chimney. That’s the whole system, and it doesn’t need to be complicated. When you’re ready, call Belmont Chimney Cleaning at (866) 413-9023 for a free estimate – we answer 24/7, with fast dispatch from 7am to 7pm, Sunday through Friday.
Written by the team at Belmont Chimney Cleaning.